How to Create Reusable Web Components with Lit and Vue
by Dan Valinotti | Thursday, May 13, 2021 - 10 min readIntroduction
Web Components are an incredibly useful tool for developers that are looking to create reusable pieces of frontend code, while supporting many different platforms. In this tutorial, I will be walking through the process of quick-starting a web components project with Lit, and how to implement your new web component in a Vue.js application. The component we will be building will be a simple button, and could also be implemented in other frontend environments like React, Angular, etc.
The Scenario
Imagine this scenario - you are working for a large company with several web applications, all of which do very different things and are maintained by different developers. Your company has a very strong brand presence, and wants to make sure that the user experience and brand presentation are consistent across all of these applications. The teams that worked on starting each of the several web apps worked in isolation, however, so you have one thats built with React, one with Vue, and maybe a couple that are just using JQuery. The obvious answer to "how do we have a consistent brand UX across sites" is to use a UI system/library and maintain that separately from the applications that use it, such as Google's Material UI. How in the world could you possibly maintain UI libraries that support all of the frameworks your applications use?
One answer to this question would be Web Components. Here is a quick definition for Web Components from MDN:
Web Components is a suite of different technologies allowing you to create reusable custom elements — with their functionality encapsulated away from the rest of your code — and utilize them in your web apps.
We can use Web Components to solve the scenario I just described by creating a library of these web components, each representing an element of a UI Library such as a button or text input, and making them flexible enough to be used in different ways. To demonstrate this, I'll create a simple button component using the Lit framework and implement it in a Vue.js app.
Example
Before we create our project, I'm going to start by showing a quick example of a component written in TypeScript using Lit. Lit is a new-ish framework from Google that makes it very simple to write Web Components. Here is a "Hello World" component from their documentation:
import {html, css, LitElement, property} from 'lit';
export class SimpleGreeting extends LitElement {
static styles = css`p { color: blue }`;
@property({ type: String })
name = 'Somebody';
render() {
return html`Hello, ${this.name}!
`;
}
}
Lets break this sample code down step-by-step:
- We import some libraries from the
litNPM library - The decorator
@customElement('simple-greeting')declares that we are creating a new custom HTML element, with the tag name "simple-greeting" - We define a class named SimpleGreeting that extends the LitElement class, which will represent our new custom element.
- A static variable
stylesis defined, which provides CSS styles for our HTML elements. - The property
nameof type String is declared, with a default value of 'Somebody'. When the component is rendered, the value used as an element attribute will be used here. - Last, we have a render function that returns an HTML template that populates the DOM when our custom element renders. The property
nameis then interpolated into the HTML template to be rendered in a<p>tag.
While this component might not seem useful as it is, you can see that we have much more than a static HTML element. It can be reused across many HTML templates, and it is dynamic in that we can provide any value for its properties and it will adapt accordingly. Here is how you might see this element used in an HTML document:
<simple-greeting name="Mr. Jones" />
<!-- output: <p>Hello, Mr. Jones!</p> -->
Now lets create a web component of our own!
Getting Started
Lets begin by creating a new web components project on our local machine.
- Open a terminal window and
cdto the directory you want to create your project in. - Run the command
npm init @open-wc- this will scaffold a new Web Components project for us quickly. - Select the options
Scaffold a new project->Web Component-> SelectLinting-> SelectYesto use TypeScript ->ui-library->yes-> Choose yarn or npm, whatever your preference. - Once the command is finished, open the newly-created directory in your preferred IDE (in my case, VS Code).
Now you should have a project directory that looks like this:
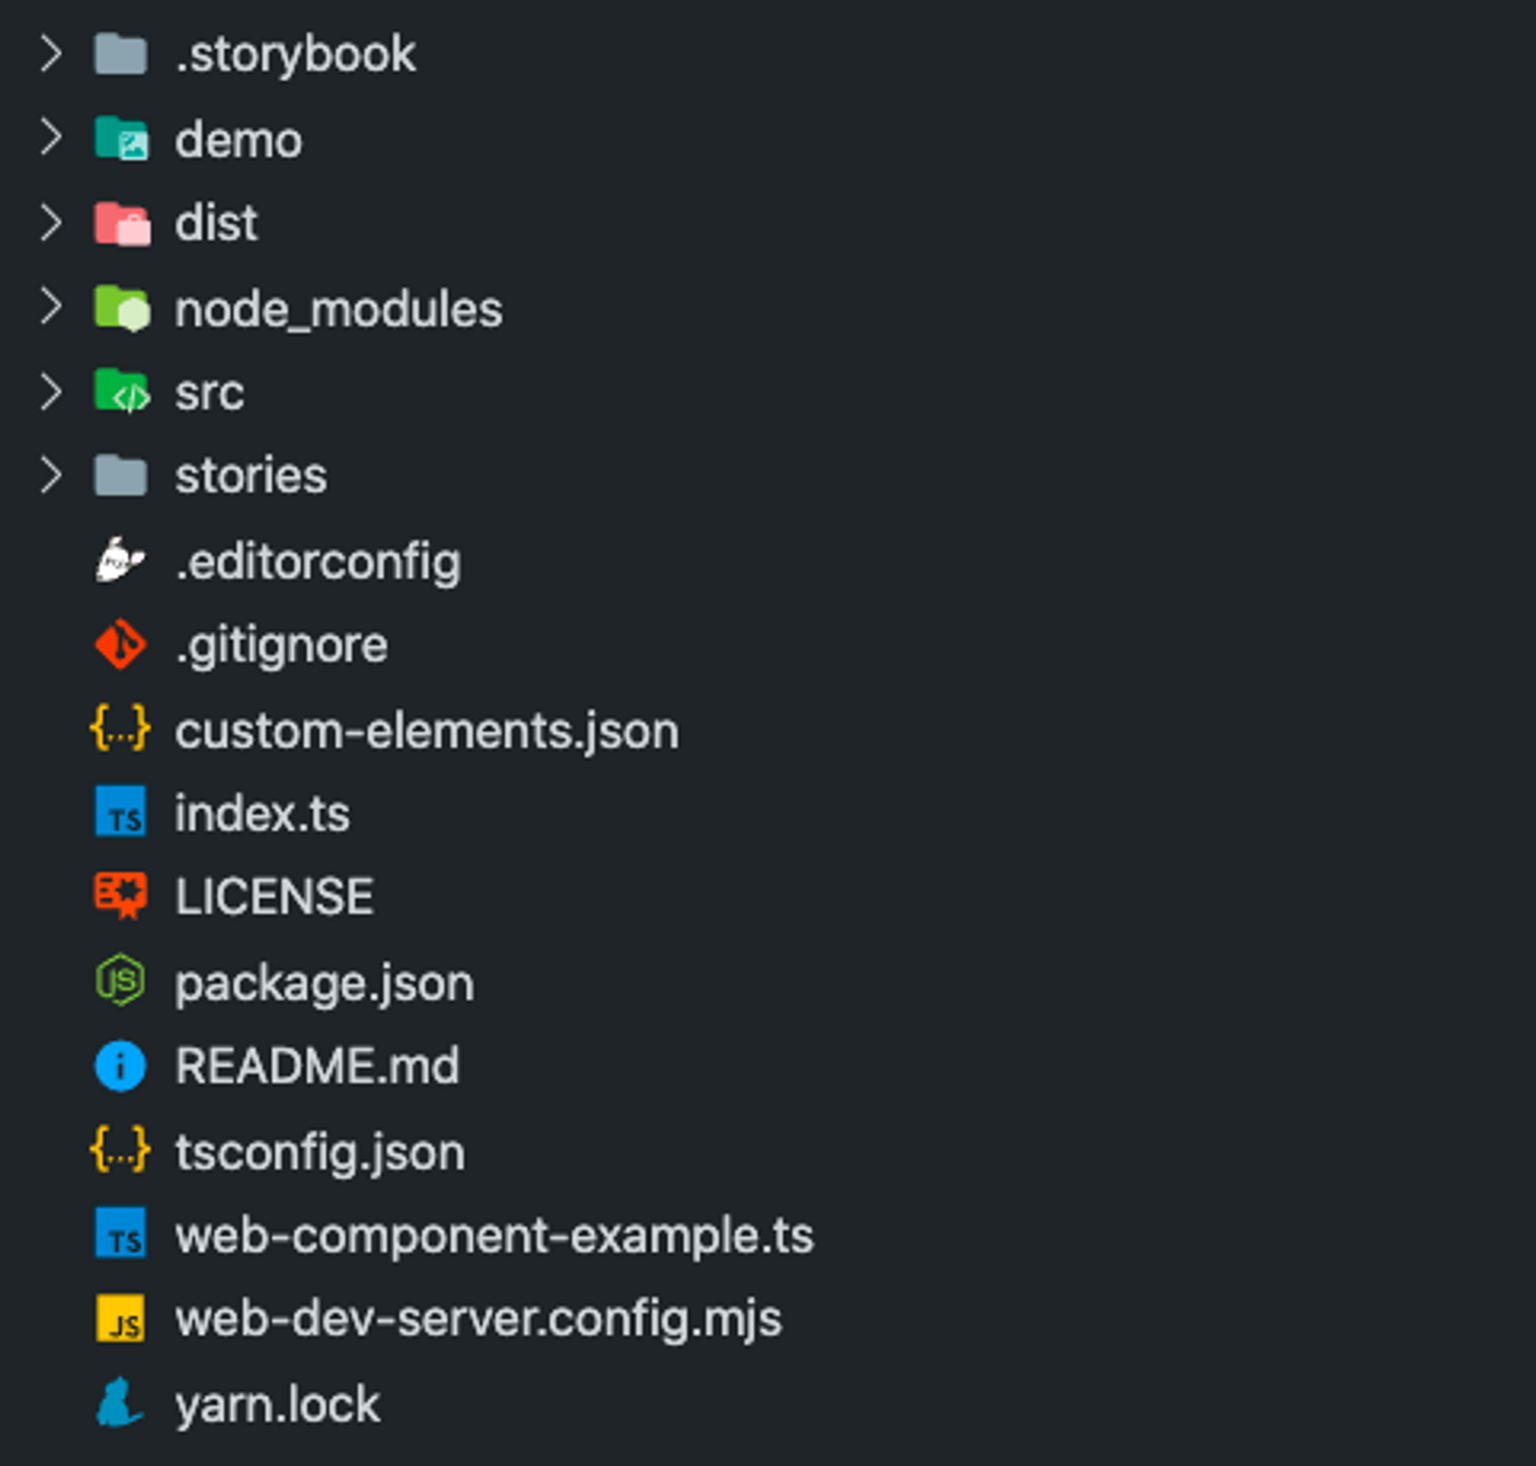
Now lets create our first Web Component, named base-button to represent a regular button in our UI Library. Create a file in the src directory named "BaseButton.ts", then open it up in your code editor.
The first thing we need to do is import some modules from the lit package that will help us write our component:
import { html, css, LitElement, property } from 'lit-element';
Next, we'll declare our component similar to what was shown earlier in the simple-greeting example:
export class BaseButton extends LitElement {
    // ...
}
Now we have a custom element named "BaseButton", whose HTML tag will be named base-button. Next, we'll create a render() function which will return the HTML rendered by our custom element:
export class BaseButton extends LitElement {
    render() {
        return html`
            <button class="base-btn">Base Button</button>
        `;
    }
}
When we use our base-button component in HTML, it will now render a button element with the class "base-btn" and text content "Base Button".
Properties
Now lets define a property variable, which will add some dynamic content to our component:
export class BaseButton extends LitElement {
    // New Property
    @property({ type: String })
    text = 'Base Button'

    render() {
        // Interpolate the property into our template
        return html`
            <button class="base-btn">${this.text}</button>
        `;
    }
}
Now we've defined a property text of type String, with a default value of "Base Button". If we were to use our component in HTML like so:
<base-button text="Hello World" />
<!-- output -->
<button class="base-btn">Hello World</button>
Congrats, you just created your first dynamic web component!
The Demo
To see our work in action, we first need to register the component in the root file of our project, ui-library.ts. Place the following code in the file:
import { BaseButton } from './src/BaseButton.js';

window.customElements.define('base-button', BaseButton);
Our custom element is now registered with the tag name base-button. Now we will change the contents of the file /demo/index.html, which is where we'll preview our changes in development:
<!doctype html>
<html lang="en-GB">
<!-- ... -->
<body>
    <div id="demo"></div>
    <script type="module">
        import { html, render } from 'lit-html';
        import '../dist/ui-library.js';

        const title = 'Hello World!';

        render(
            html`
                <base-button text="${title}"></base-button>
            `,
            document.querySelector('#demo')
        );
    </script>
</body>
</html>
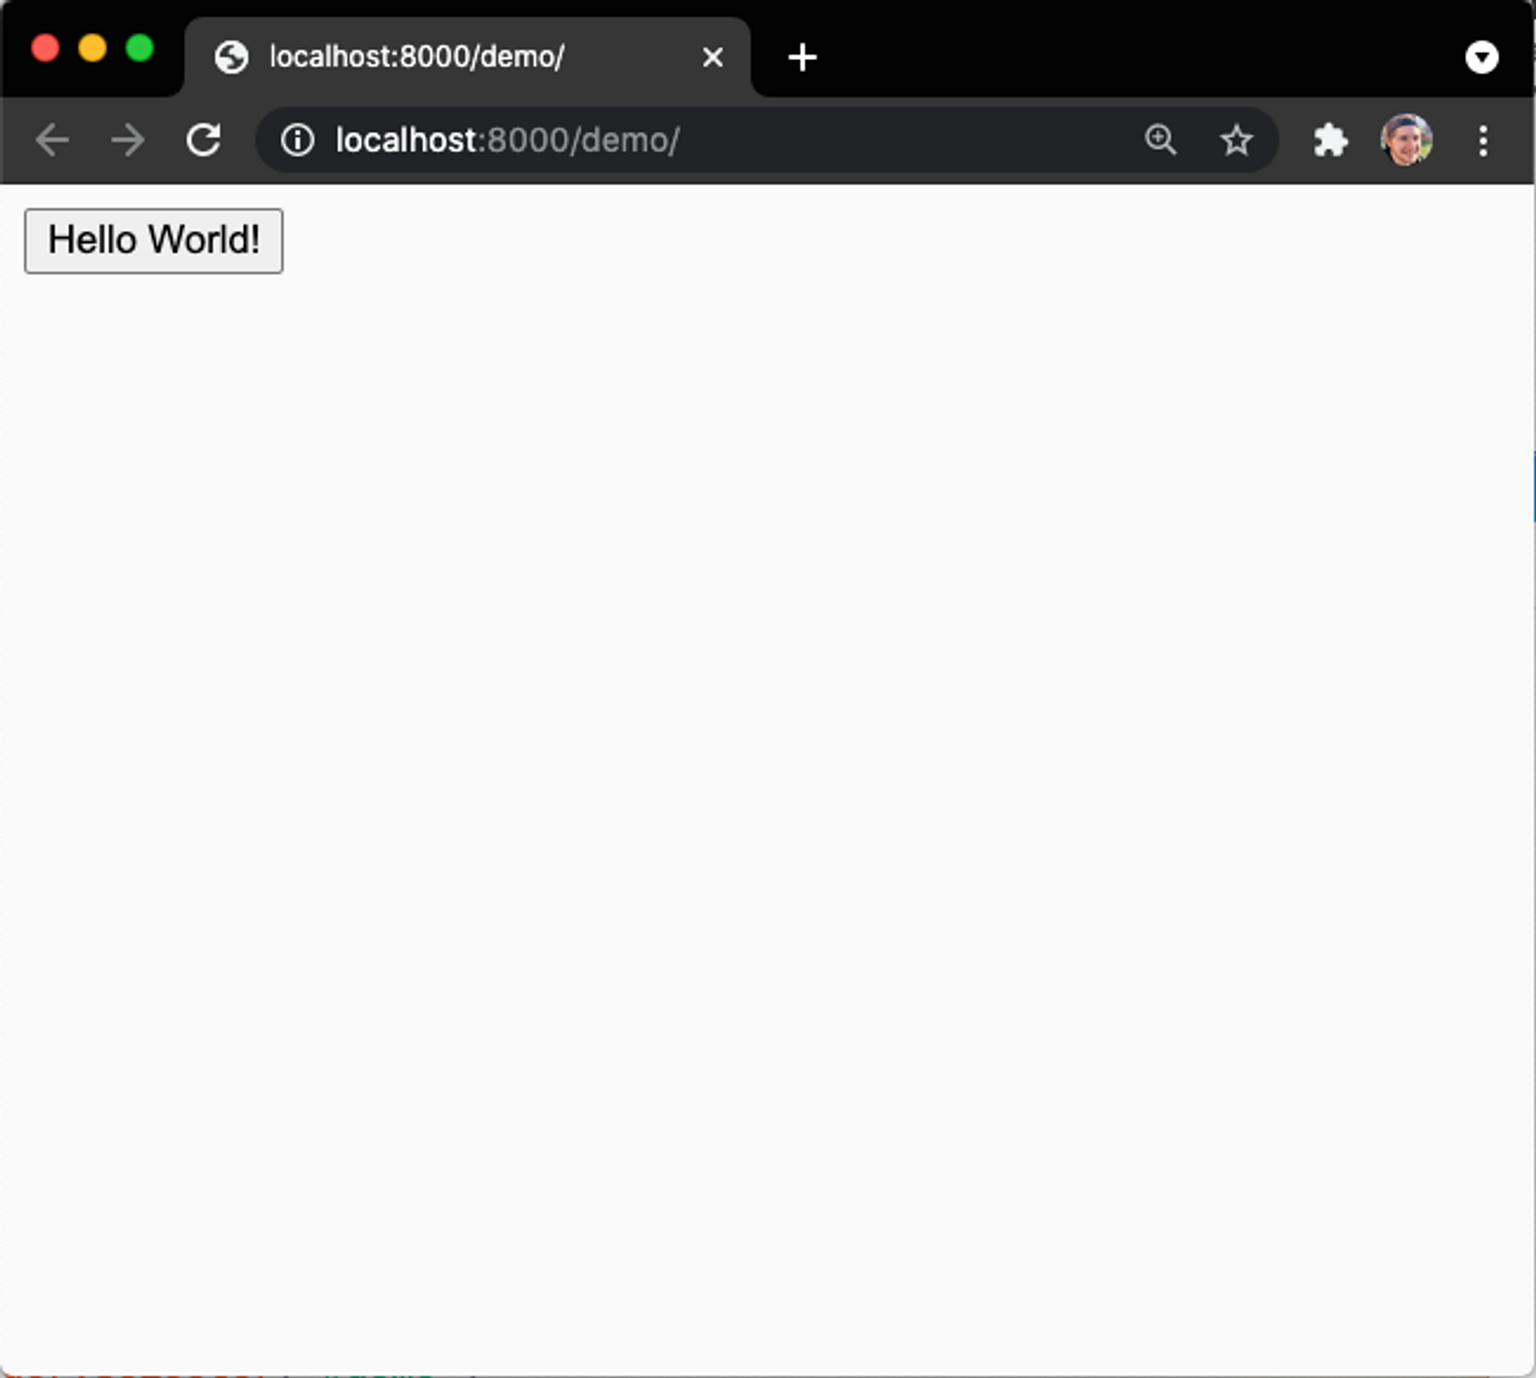
Now open your terminal, and run the command npm start (or yarn start) to start up the development server. After a few seconds, a browser window will open and you should see this:
Give It Some Style
Now lets add some CSS to our button to make it look a bit prettier. To add styles to our Lit Web Component, we define a static variable styles at the top of our component class:
export class BaseButton extends LitElement {
    static styles = css`
        button.base-btn {
            color: white;
            background: #2a63bf;
            border: 0px transparent;
            border-radius: 0.5rem;
            padding: 0.5rem 1rem;
            box-shadow: 0px 2px 4px 2px rgba(0, 0, 0, 0.125);
            transition: background 250ms ease-in-out;
        }
        button.base-btn:hover {
            cursor: pointer;
            background: #204b91;
        }
    `;
    // ...
}
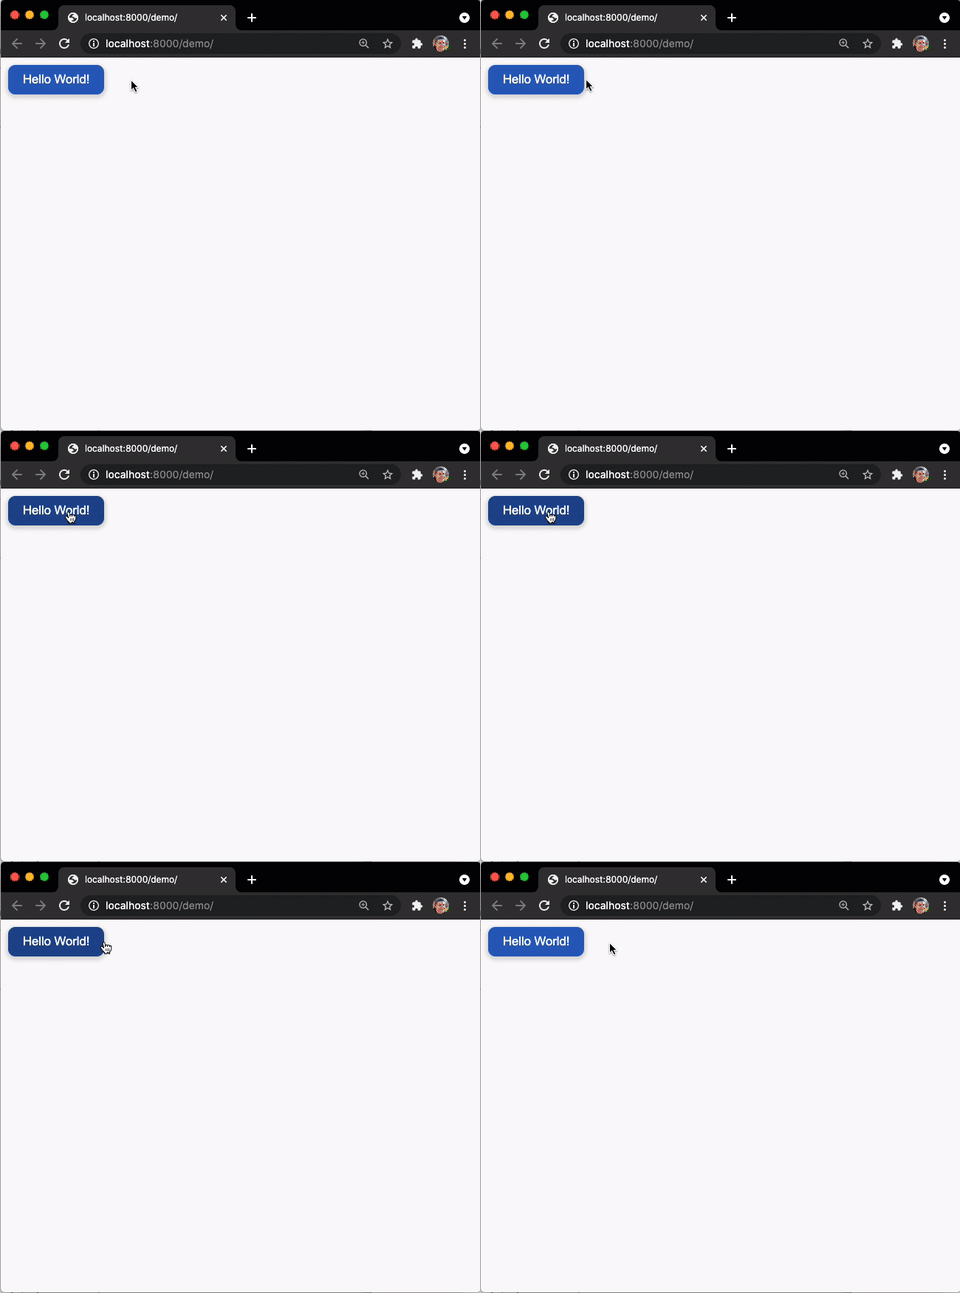
Now that we've added a pop of color and a cool hover effect, save the file and look back at the browser window to see your updated component:
Listening for Events
Since we're building a button, we're going to want it to perform some action when a user clicks the button. One way we can do this is to define an attribute @click in our render function on the button element, and pass it an event handler function:
export class BaseButton extends LitElement {
    // ...

    render() {
        // Add @click attribute with this.onClick function
        return html`
            <button class="base-btn" @click="${this.onClick}">
                ${this.text}
            </button>
        `;
    }

    // Button click event handler
    onClick() {
        window.alert(`${this.text} has been clicked!`);
    }
}
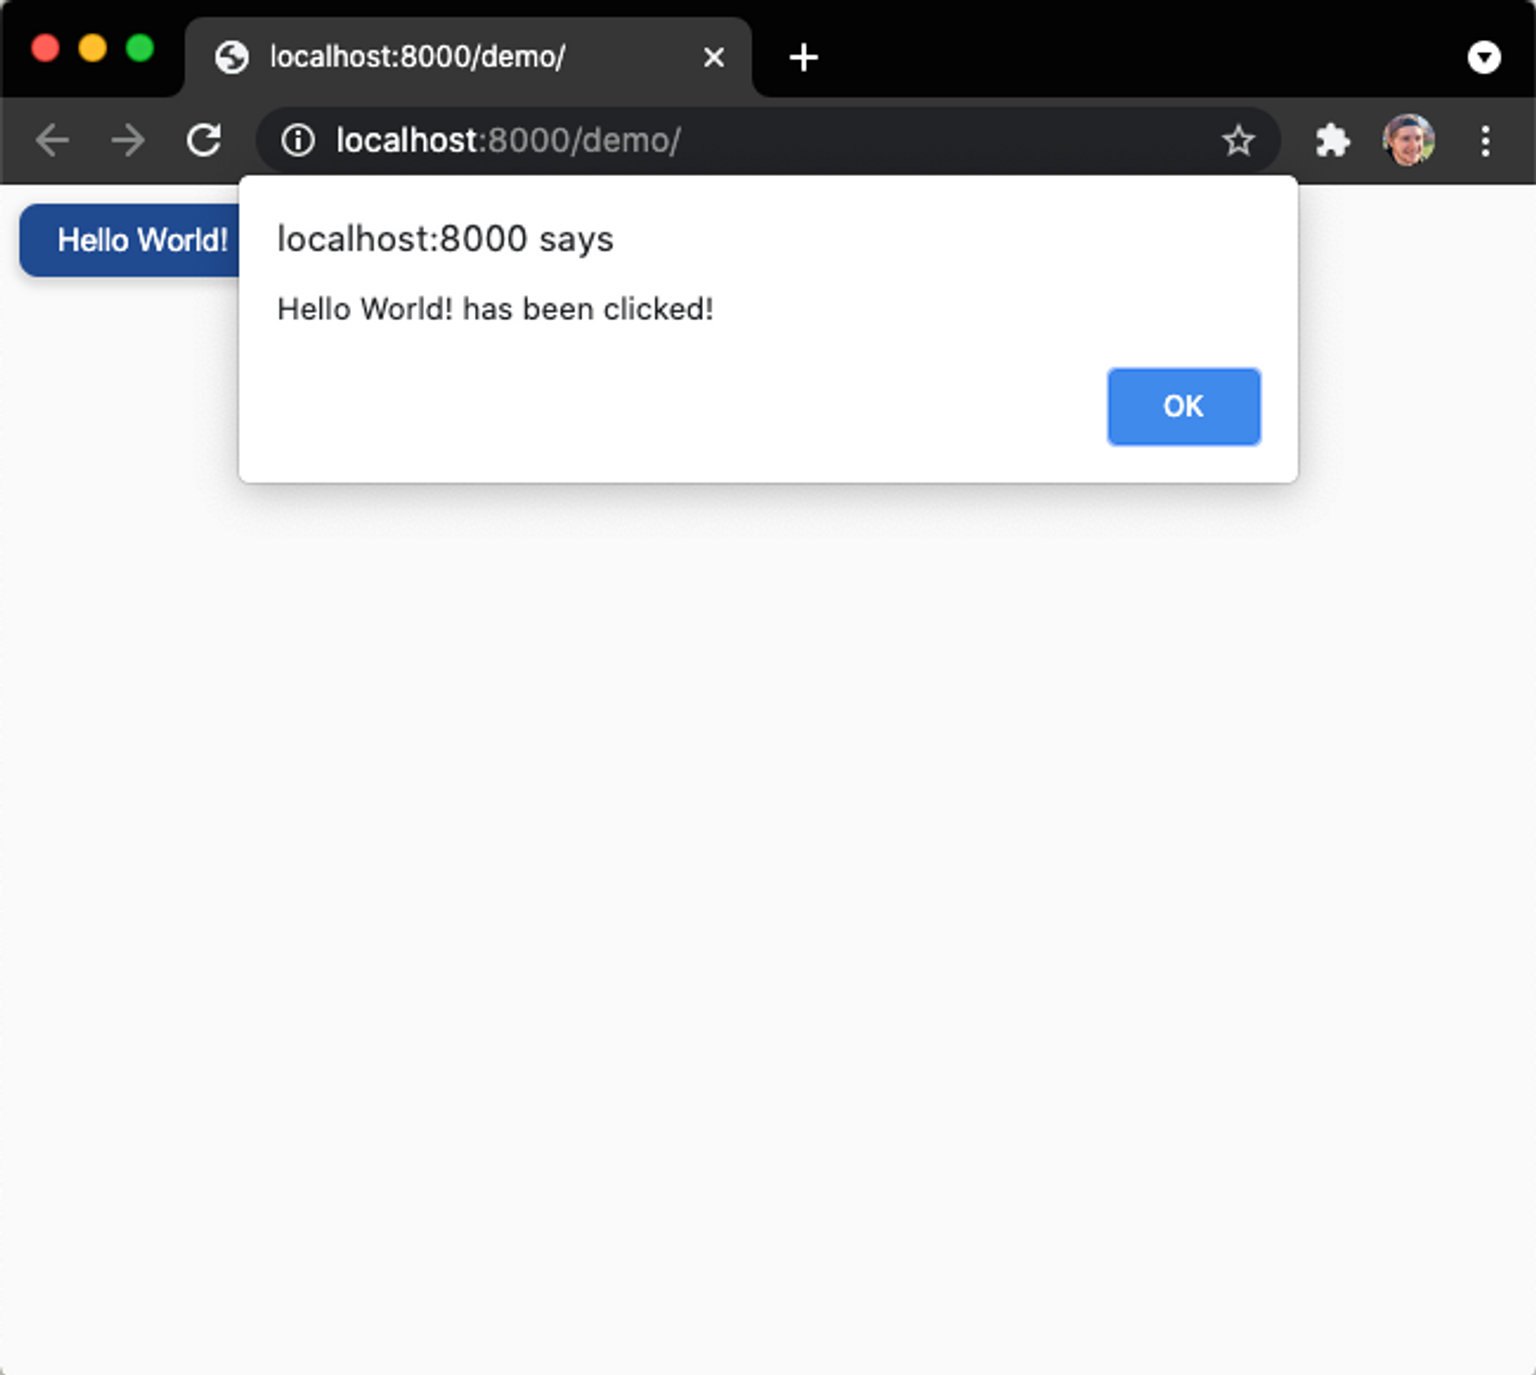
Here, we're using the text property to send an alert to the browser when the user clicks our button. Now, when you click the button in the demo window you should see this alert popup:
Congratulations, now we have a good-looking, dynamic, and reusable Web Component that can be used in many different applications! To finalize our work, open a terminal and run the command npm run build (or yarn build) to build a production-ready version of our web component, with the output placed in the /dist directory.
Using base-button in Vue
Getting our new web component imported into a Vue application is actually pretty simple. In this example, I'm going to be starting with a new Vue project using vue create vue-web-components. This will create a new project directory with our Vue application. Run cd vue-web-components in your terminal to navigate to the new directory.
To make sure our Vue application can render Web Components, we need to install the package @webcomponents/webcomponents. To do this, run yarn add @webcomponents/webcomponentsjs.
Next, we need to import our production build of the Web Component into our Vue app. The easiest way to do this is by adding the following line to the dependencies section of our package.json file:
"ui-library": "../ui-library",
This will add our Web Components project as a Node dependency named ui-library. Now, we need to actually import ui-library in our Vue application - this will be done in the file /src/main.js, which is generally the entry-point of all Vue applications.
import Vue from 'vue'
import App from './App.vue'

// Import the ui-library package with our base-button Web Component
import 'ui-library/dist/ui-library.js'

// IMPORTANT: Configure Vue to ignore any elements named base-button.
//   If this isn't set, Vue will try to render base-button as a Vue
//   component which will cause an error.
Vue.config.ignoredElements = ['base-button']

Vue.config.productionTip = false
new Vue({
    render: h => h(App),
}).$mount('#app')
Now our base-button Web Component will be available to any Vue component in our application. To test this out, open the /src/App.vue file and write the following code:
<template>
    <div id="app">
        <h1>Web Components</h1>
        <!-- Our web component! -->
        <base-button text="Hello Vue"></base-button>
    </div>
</template>

<script>
export default {
    name: 'App',
}
</script>

<style>
#app {
    font-family: Avenir, Helvetica, Arial, sans-serif;
    -webkit-font-smoothing: antialiased;
    -moz-osx-font-smoothing: grayscale;
    text-align: center;
    color: #2c3e50;
    margin-top: 60px;
}
</style>
To start our Vue application development server, run the command yarn serve in your terminal and navigate to http://localhost:8080 in your browser. If everything went well, you should see your web component rendered properly!
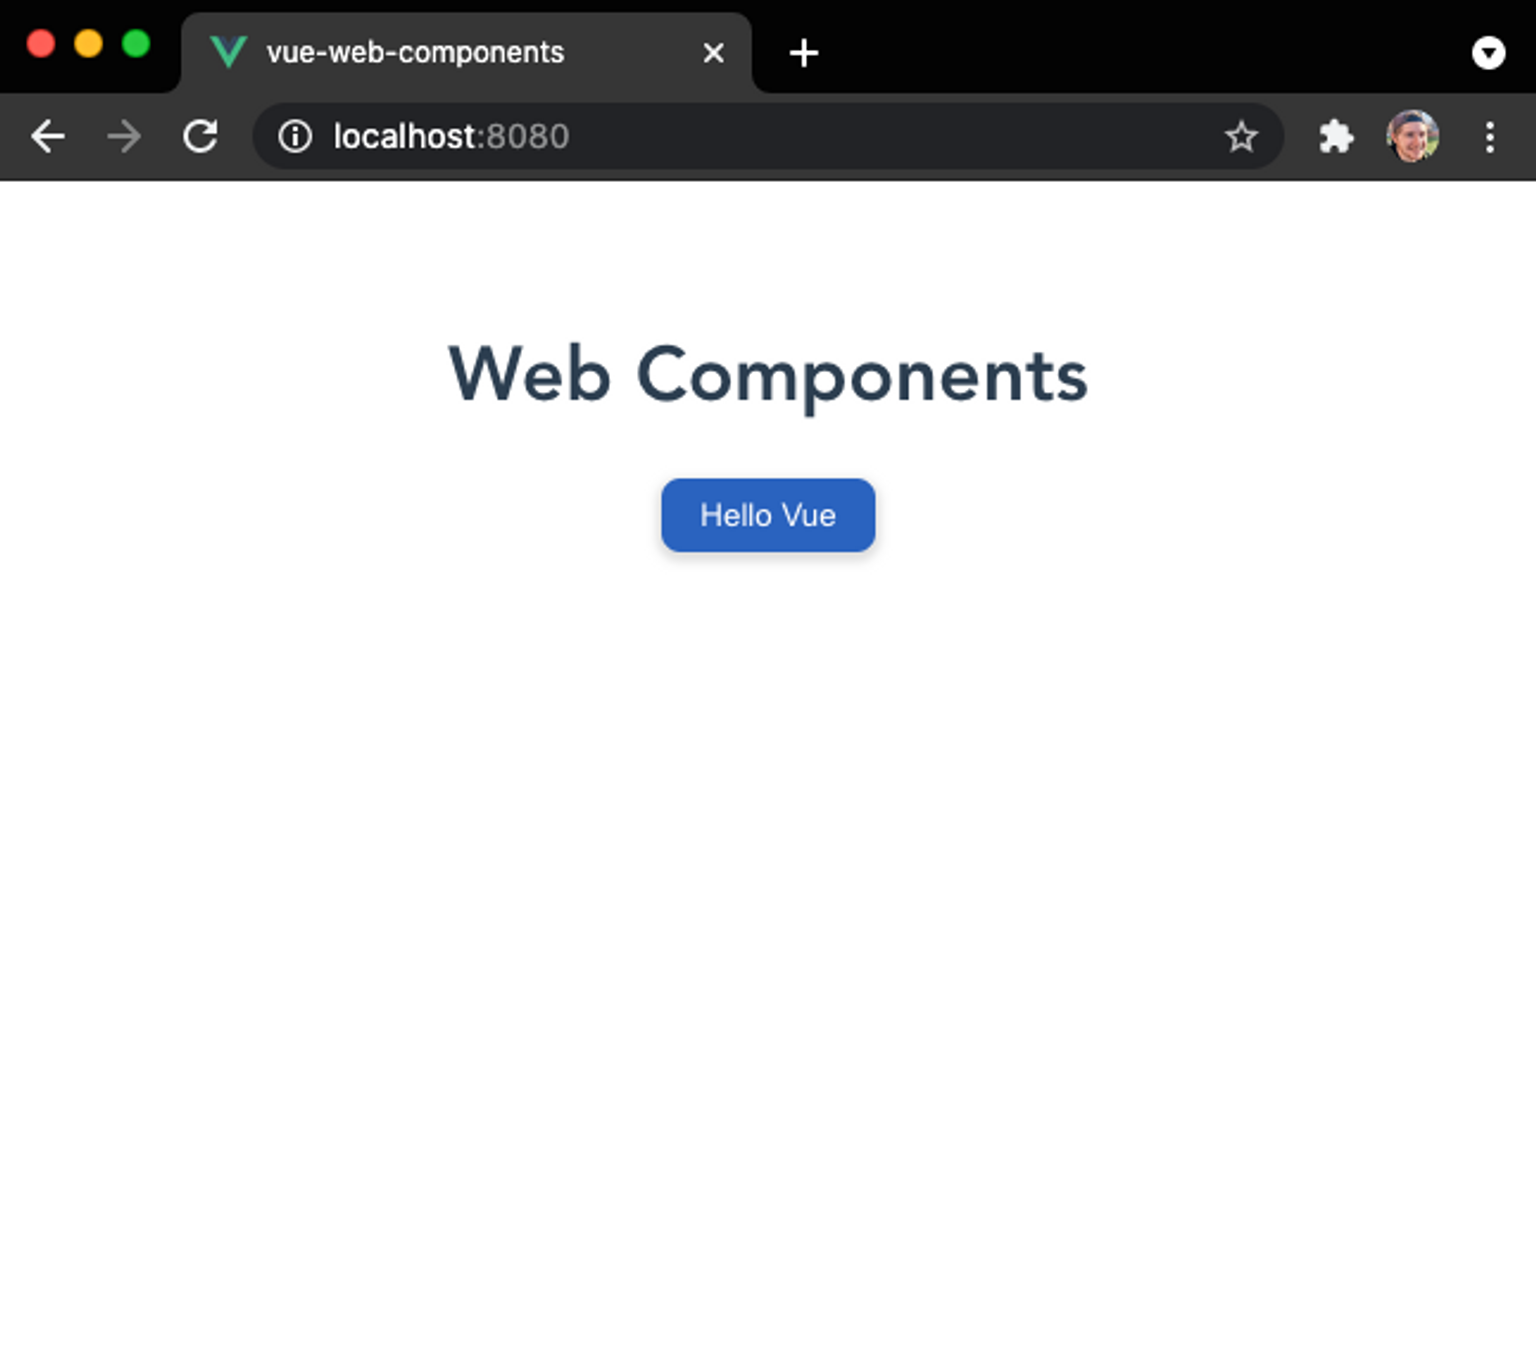
Now you can create more web components in the project we created, and reuse them across your Vue application. You can also use them in other applications, such as React or Angular which would require somewhat different configuration. I hope this tutorial has been helpful! If you have questions, you can contact me through any of the methods listed on my contact page.
